Last Updated:
We show you how to connect the GTmetrix MCP with OpenAI’s ChatGPT Desktop app (formerly known as Codex).
Overview
The GTmetrix MCP can be connected to OpenAI’s ChatGPT Desktop app in order to integrate GTmetrix workflow directly into the AI app.
In this guide, we’ll show you how to connect the GTmetrix MCP to ChatGPT (formerly known as Codex) with step-by-step instructions.
ChatGPT vs ChatGPT Work vs Codex
This guide is for the new ChatGPT Desktop app that includes Codex and ChatGPT Work.
The regular ChatGPT app is now called ChatGPT Classic. Learn how to connect GTmetrix MCP with ChatGPT Classic here.
Connecting GTmetrix MCP to ChatGPT
There are 2 primary ways to connect the GTmetrix MCP to Codex/ChatGPT Work inside the ChatGPT Desktop app:
Note for Organizational/Company Accounts
If you are using an organization-managed Codex/ChatGPT Work account, your administrator may restrict the adding of custom MCP servers.
Reach out to your IT team add the GTmetrix MCP to the approved MCP servers list.
We provide step-by-step guidance for each method below:
Using OAuth
The simplest and quickest method to connect to the GTmetrix MCP is by using OAuth – you can connect with just a few clicks.
1) Navigate to Settings using the Sidebar
You can also use the Ctrl + comma keyboard shortcut on Windows/Linux (Cmd + comma on Mac).
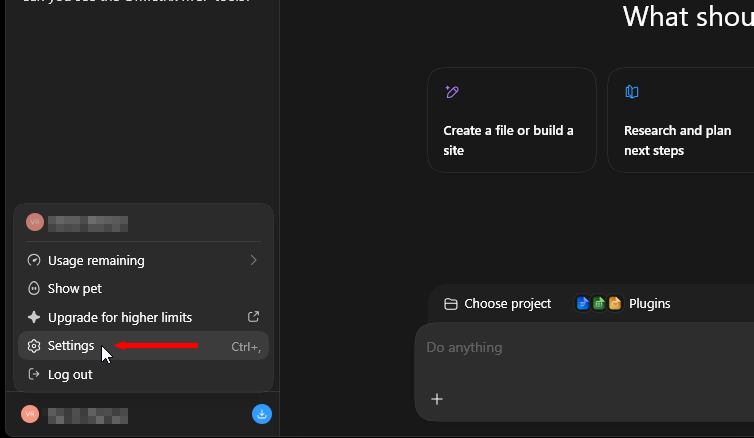
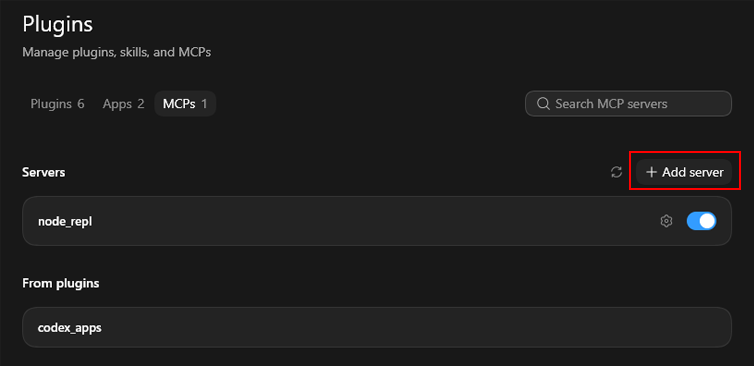
2) Click on Plugins
On the Plugins menu, click on “MCPs“.

3) Click “Add server”
4) Enter MCP details
- Name: GTmetrix
- Select Streamable HTTP
- URL:
https://gtmetrix.com/mcp
Leave everything else empty – Click Save once you’ve entered the required details.

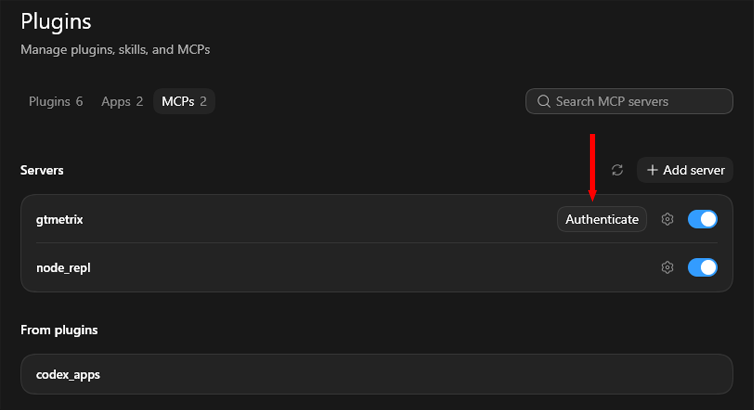
5) Authenticate your Connection
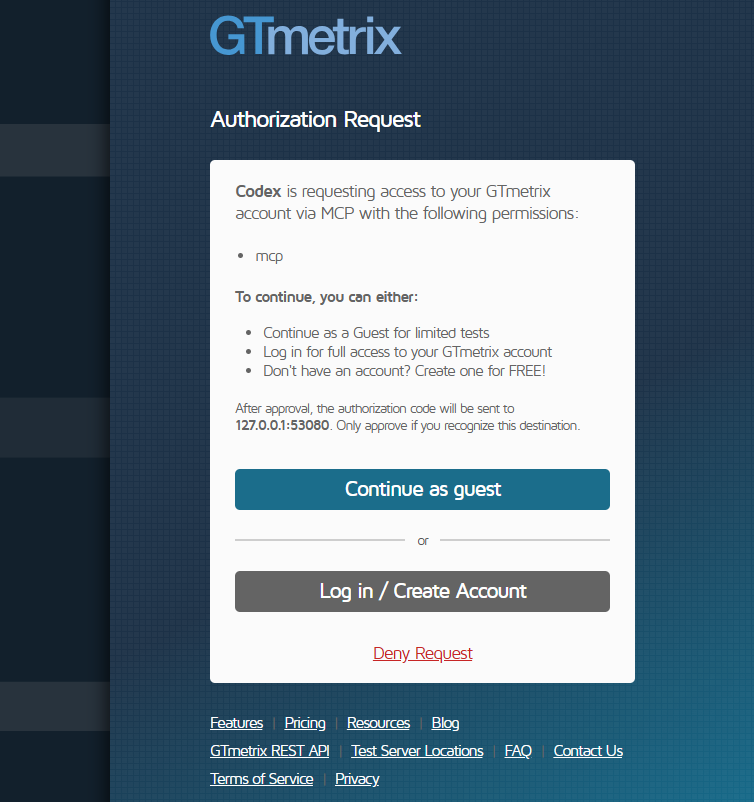
Click Authenticate – this will launch a new browser window asking you to authorize the connection to the GTmetrix MCP.
If you wish to continue without creating an account, click on Continue as guest – note that guest testing is highly limited and you’ll need to reauthorize the connection with your GTmetrix account after your Guest API credits have been used up.
Create an account or login to your GTmetrix account for full access.
Next, click on Allow to authorize your connection.
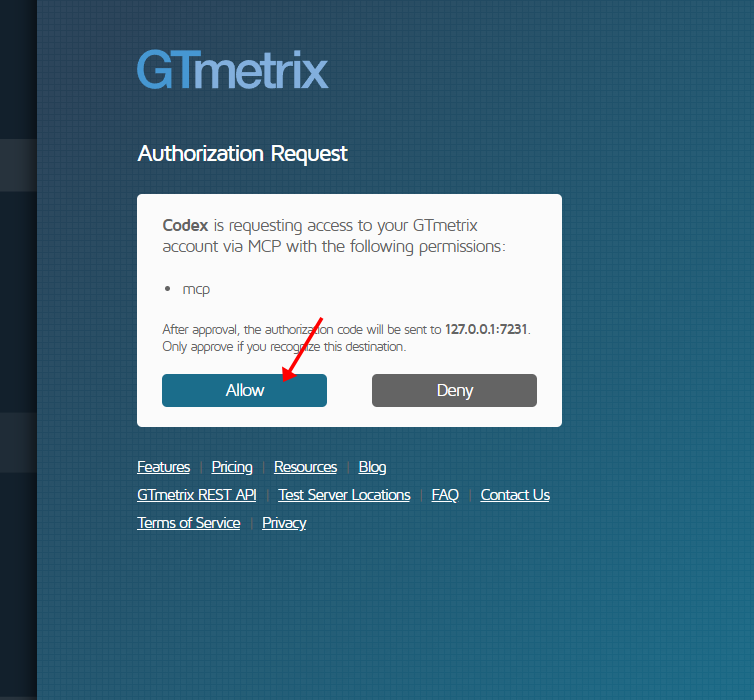
A success screen should appear when the connection is successfully established.
6) Restart/Open the app and Confirm Connection
To confirm, restart the app, then start a new chat and ask ChatGPT if it can see the GTmetrix MCP tools.

If ChatGPT responds with a list of GTmetrix tools, you know that the connection was successful and you can now start interacting with it and get it to use GTmetrix.
Using TOML
If you prefer to manually configure the GTmetrix MCP server in your ChatGPT configuration files, you can do so with the instructions below:
1) Make sure you’ve generated an API key for your account on the GTmetrix account page

Copy your API key and keep it aside safely as you’ll need it to set up the MCP connection.
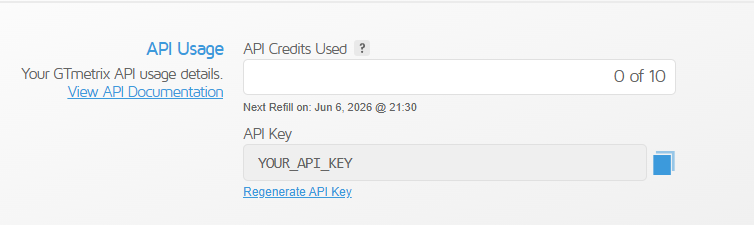
For security reasons, the screenshot above says YOUR_API_KEY but your Account page will display your actual API key.
2) Edit your config.toml file
- Windows:
C:/Users/<%USER%>/.codex/config.toml - Mac:
~/.codex/config.toml
Open this file in a text/code editor.
3) Add the gtmetrix MCP
Add the following code to the very bottom of the file:
[mcp_servers.gtmetrix]
url = "https://gtmetrix.com/mcp"

[mcp_servers.gtmetrix.http_headers]
Authorization = "Bearer YOUR_API_KEY"
where YOUR_API_KEY is your API key that you previously copied from the Account page.
4) Save the file and restart ChatGPT
Save the config file, then quit the ChatGPT Desktop app entirely and restart it to apply the changes.
5) Confirm Connection
Restart ChatGPT, then start a new chat and ask if it can see the GTmetrix MCP tools.
If ChatGPT responds with a list of GTmetrix tools, you know that the connection was successful and you can now start interacting with it and get it to use GTmetrix.
Summary
Connecting the GTmetrix MCP to ChatGPT (formerly known as Codex or ChatGPT Work) is quick, simple, and can be done in multiple ways:
- OAuth authentication
- Editing the TOML config
Use the GTmetrix MCP connection to bring your GTmetrix workflows directly into ChatGPT.
Get ChatGPT to start GTmetrix tests, test in different scenarios (locations/devices/connection speeds, etc.), compare results, and help you understand what’s slowing down your page and how to fix them.
Give this a try and let us know if you run into any bugs or issues.
Unlock More API Credits for ChatGPT Powered Performance Testing
Run more tests with additional API credits. Use GTmetrix MCP inside ChatGPT to automate testing, compare results, access history, and surface actionable insights.
Available with select PRO plans (excluding Lite plan).
Other features include: Priority access for tests, More Monitored Slots, Access to more locations, Remote Location Monitoring, Complete Mobile testing suite, and more!