
We’ve written an in-depth guide on organizing your GTmetrix Reports with Tags.
Overview
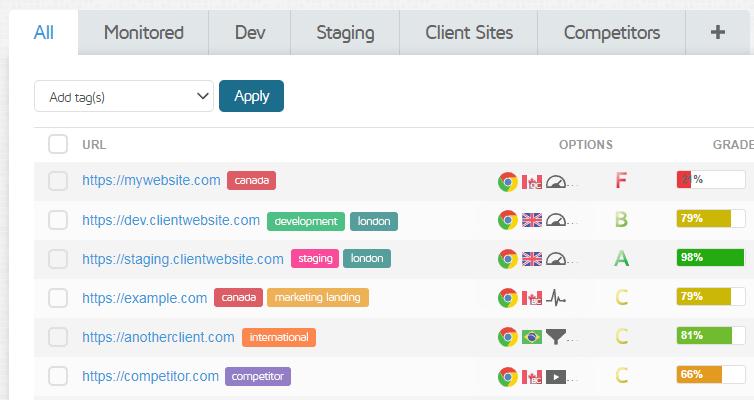
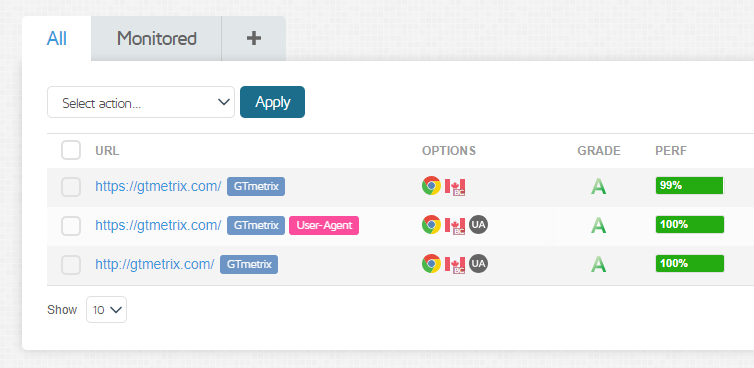
The Dashboard Report Table is the hub of all your GTmetrix analysis activity.
This is where you’ll find all the URLs you’ve tested from your account, including monitored tests and ones tested through the API. You can sort, filter, categorize, and tag your reports in a number of ways for convenient access.
In this guide, we’ll show you how to use Tags with your GTmetrix Reports.
What are Tags?
Most users (especially WordPress users) are likely to be familiar with the concept of tags but in case you’ve never used tags before with any application, let’s briefly look at what they are.
Tags are simply a way to categorize and organize your GTmetrix Reports using words or phrases relevant to you so that you can easily find them.
For example, you can tag a staging URL as “Dev Site” and the production URL as “Live Site” in order to easily identify which is which.
You can tag an entry on the GTmetrix Dashboard with pretty much anything that helps you identify the report instantly (e.g., Competitor, London, iPhone, etc.).
Basic/Free users can create 2 tags on their accounts while PRO users have access to unlimited tags.
How to Use Tags
There are many ways to use tags in GTmetrix – in this guide, we’ll cover the following functions:
We breakdown each of these functions below:
Creating New Tags
Here’s how to create a new tag.
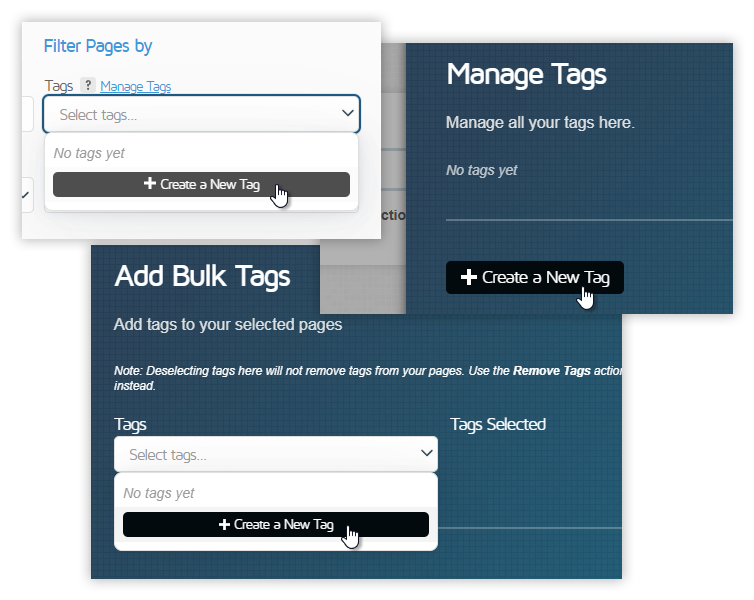
1) Click on the Create a New Tag button
This button can be found in any menu where a Tags dropdown is located, including GTmetrix Reports and on the Dashboard (via Add Bulk Tags, & Manage Tags).
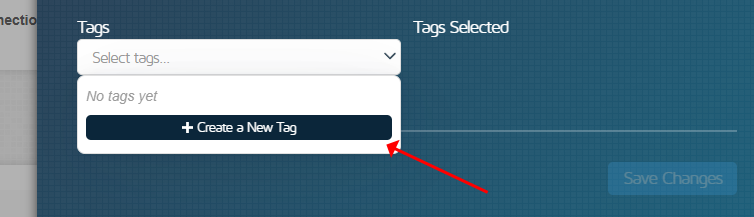
Once you’ve clicked on “Create a New Tag”, a new menu should now pop out.
2) Enter your Tag details
Input the name and description (optional) for the tag, and select a colour for your tag.
You can use any name for the tag as long as it is unique among all your current tags – we suggest using names that would help you easily identify sites, testing situations, locations, etc.
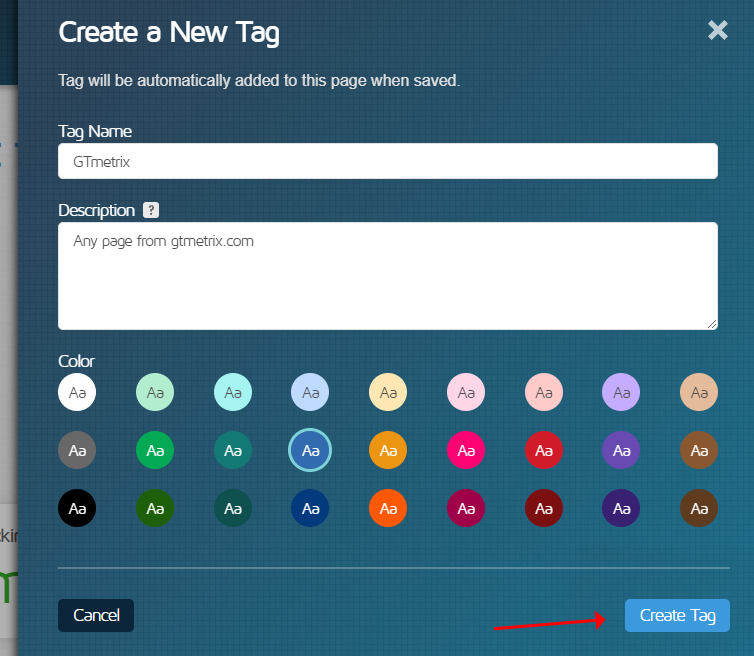
You can also add an optional description that would show up as a tooltip when hovering over the tag.
When you’re done, click on the Create Tag button.
That’s it! You’ve created a tag.
Adding/Removing Tags
Once you’ve created tags, you can start adding (or removing) them to reports.
1) Click on the Tags button on the right-hand side of a GTmetrix Report

The “Page Tags” menu should should pop out.
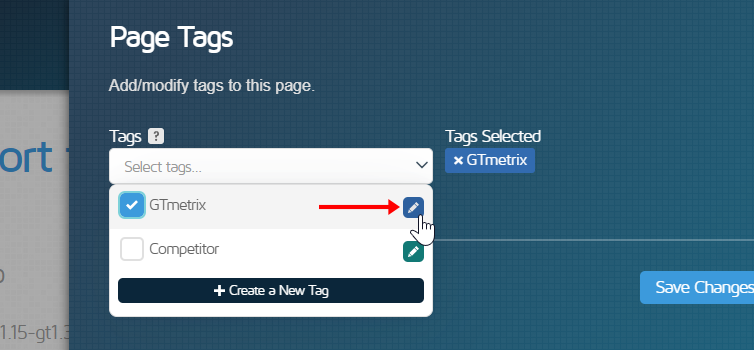
2) Select your tags to add/remove from the Tags dropdown
A preview shown below the dropdown will update with the tags you’ve selected.
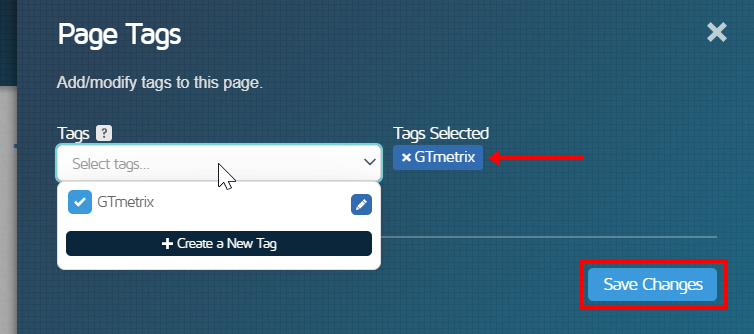
Click on Save Changes when you’re done.
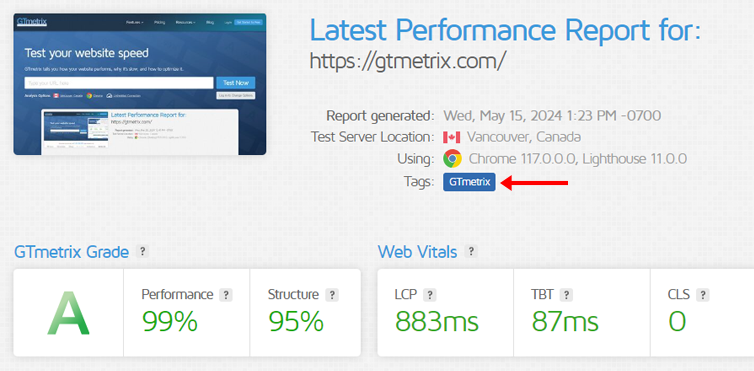
Your page is now tagged and you can view tags in the test details area of the GTmetrix Report.
Bulk Adding/Removing Tags
You can also add or remove tags for multiple pages at the same time in a few clicks – here’s how:
1) On the Dashboard, select one or more page entries
Once you have your desired selection, click Add tags or Remove tags from the Bulk Actions dropdown.
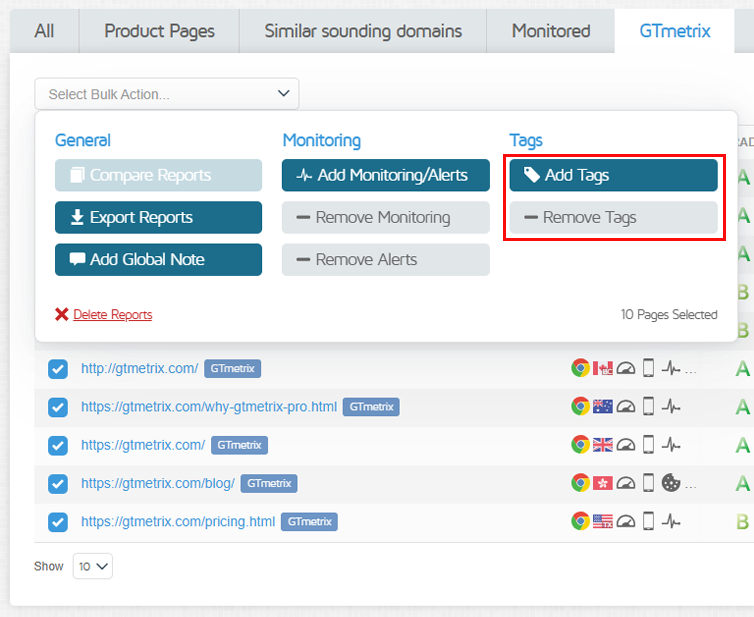
A new menu called Add Bulk Tags or Remove Bulk Tags should pop out depending on the selected option.
2)Select which tags are to be added/removed
On the Add Bulk Tags menu, click on the dropdown and select the tags you want to add to your selected pages.
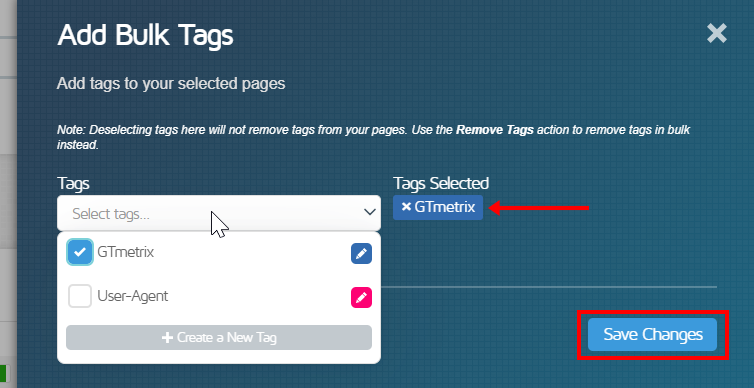
Click on Save Changes to add the tags. Once you’ve clicked on Save Changes, your tags will be visible on the Dashboard, next to the URL entries.
For removing tags in bulk, click on the x next to the tag’s name in the Remove Bulk Tags menu to remove that tag from your selection of pages.
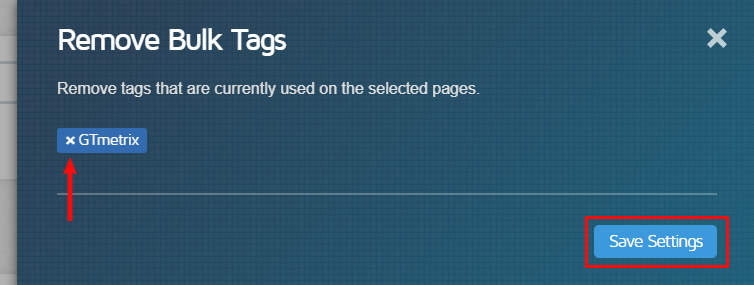
Click on Save Settings when you’re done to save your changes.
Note: Add and Remove tag actions are specific
Use each action separately if you wish to bulk add or remove tags – you cannot remove a tag while in the Add Bulk Tags menu and vice-versa.
Editing Tags
You can edit existing tags to change their names, descriptions, and colours, or even delete them.
Click on the pencil icon beside a tag in any Tag dropdown menu to edit the tag.
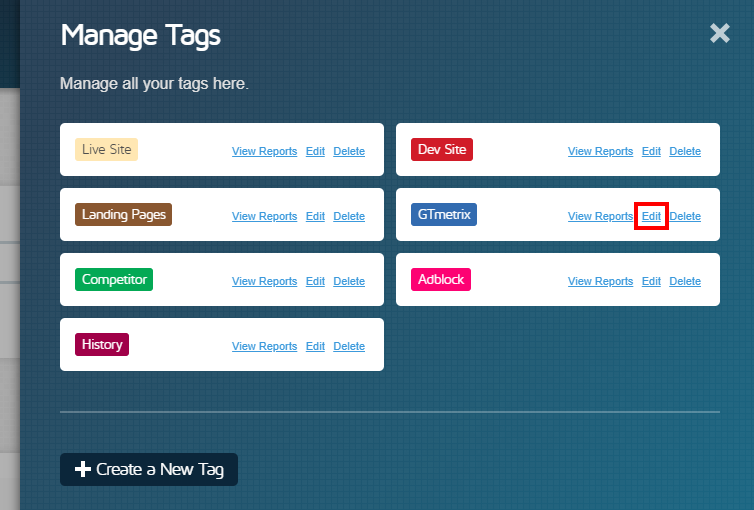
You can also edit tags by clicking the “Edit” link on the Manage Tags page.
When clicked, an Edit Tag menu will pop out; Any changes made to existing tags are automatically applied across all the pages that carry them.
Managing Tags
The Manage Tags menu is a central action centre that lets you do the following:
- View all the tags created in your account
- Create New tags
- Edit tags
- View reports that reference a specific tag
- Delete tags
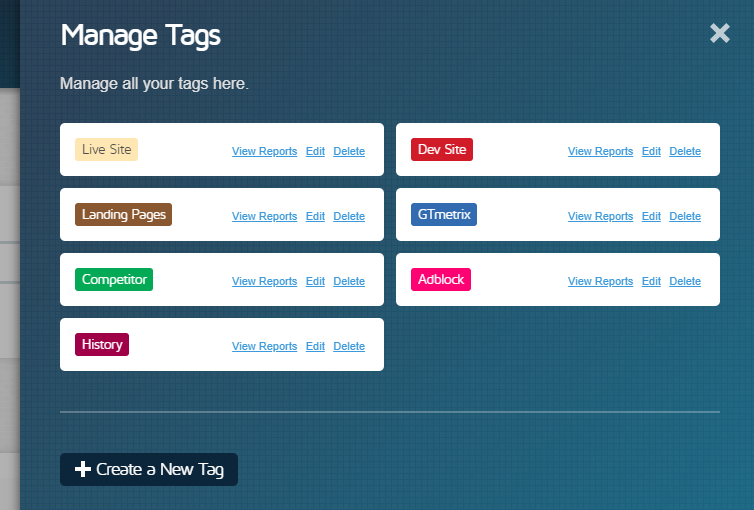
You can find it on the Dashboard by expanding the “More Filters” option.
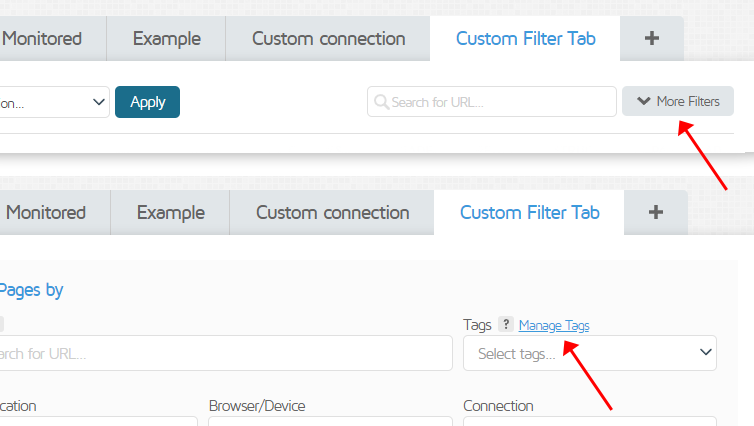
Filtering Using Tags
We’ve added tags to filtering options so you can filter pages using tags and create your own filter tabs for convenient access.
On the Dashboard, expand the “More Filters” menu to reveal the Tags dropdown.

Clicking tags here will automatically filter your Dashboard Reports Table by selected tags.
You can also click on tags on the Dashboard Reports Table to quickly filter by them.
Clicking on multiple tags will filter with an AND operator.
Summary
Tags offer you a simple way to categorize and organize your GTmetrix Reports using words or phrases relevant to you.
We’ve tried to simplify tag usage as much as possible for your convenience.
Follow the instructions in this guide to create new tags, add them to your pages, and edit/remove/delete them, as needed.
Get unlimited tags, test with different countries, speeds and options
Get access to more Test Locations, Analysis Options and Connection Speeds!
Sign up for a Basic GTmetrix account and see how your site performs in more scenarios – It’s FREE!