We explain how to test multiple pages at once with GTmetrix.
Overview
Bulk testing refers to launching tests for multiple pages in one go instead of having to launch each test separately.
You can do this either by inputting all of your URLs into the Analysis field (one URL per line) or via CSV upload (one URL per row/line).
In this guide, we’ll show you to how to launch bulk tests in GTmetrix.
Benefits of Bulk Testing
GTmetrix focuses on testing the web performance of a specific URL whether it is your homepage, product page, any landing page, etc.
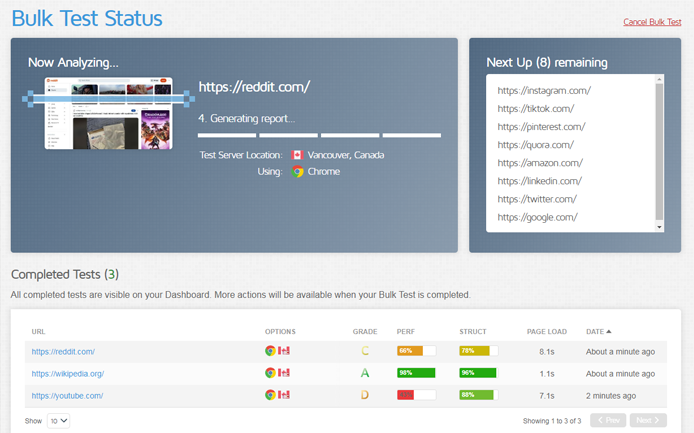
Bulk Testing brings with it the following benefits:
- Easily start testing multiple pages and collect performance data on a large amount of URLs
- You do not need to manually test each URL one-by-one.
- You do not need to manually test each URL one-by-one.
- Streamline testing of groups of URLs
- For example, you can test a set of specific URLs in one go, and then start another bulk test for another set of URLs.
- You can also bulk test URLs in one location/device/Analysis Options combination, and then bulk test URLs in another location/device/Analysis Options combination.
- Monitor and set up Alerts for multiple pages faster
- You do not need to enable monitoring and alerts one-by-one for each report.
How to Start a Bulk Test
Follow the instructions below to launch a bulk test:
1) Switch to Bulk Tests Mode
On the Dashboard, click on Switch to Bulk Tests in the top right corner of the Analysis field.
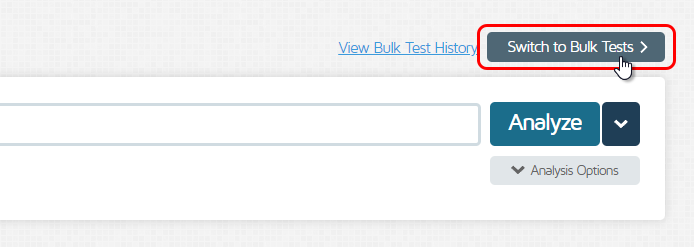
The Analysis field is now larger and ready for you to start inputting URLs for Bulk Testing.
2) Input Your URLs
You can input your URLs in one of two ways:
a) Input a separate URL on each line.
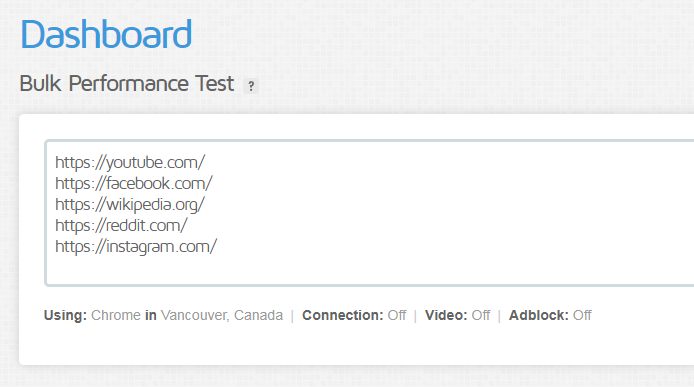
You can paste all of your URLs in the Analysis field, but each URL must be unique and on a separate line.
b) You can upload a CSV by clicking the “Upload CSV” button.
CSVs must contain URLs – one per row and be saved as a .csv (No .xlsx or .xls formats accepted).
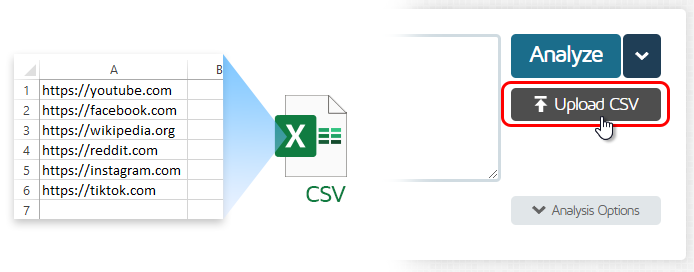
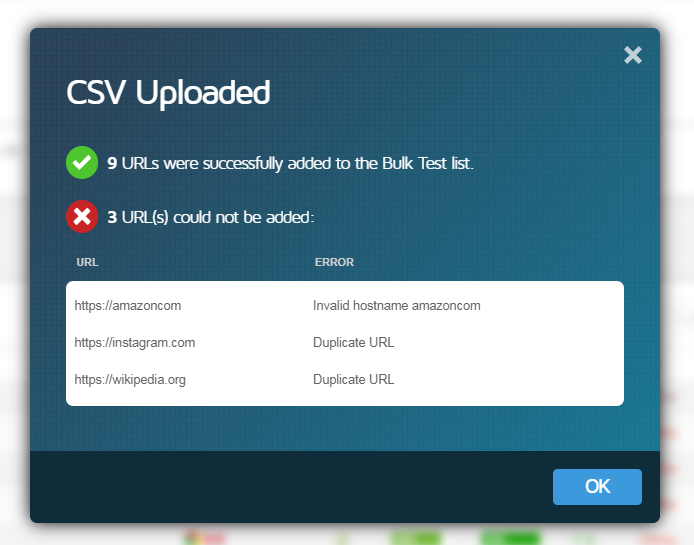
If you’ve uploaded a CSV, the file will be processed and URLs will be added to the Bulk Testing list.
URLs that are duplicated or malformed will be identified and not added to the Bulk Testing job.
3) Select Your Analysis Options and Start the Bulk Analysis
As with single On-Demand Tests, click on the Analysis Options button to expand the Analysis Options fields.
Select your location, device, connection speed, and any other Analysis Options you want to apply for the Bulk Analysis.
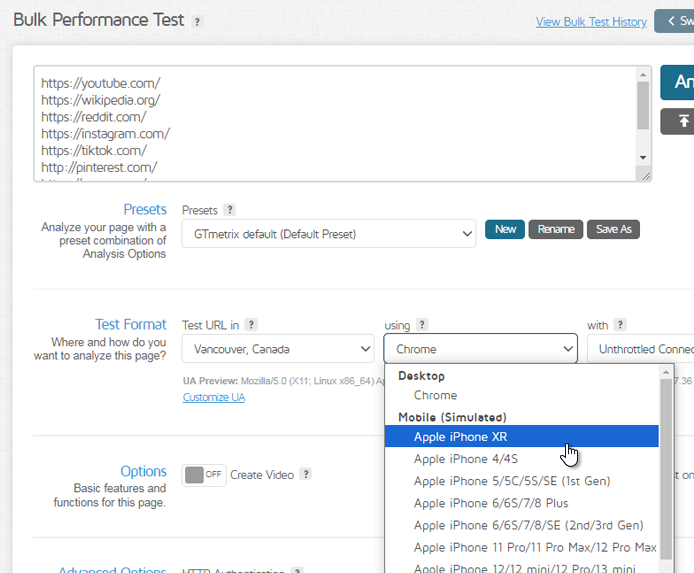
Click on Analyze once you’ve made your selections.
Save your favourite and frequently used Analysis Options in a preset for convenient one-click Bulk
Analysis.

4) Confirm Your Bulk Test
After you’ve clicked Analyze, a modal will be displayed showing how many URLs will be analyzed in the Bulk Test and how many On-Demand Test Credits it will deduct from your account.
Credits will be deducted immediately – If you do not have sufficient credits for your test, please remove URLs from the Bulk Test or upgrade your PRO plan.
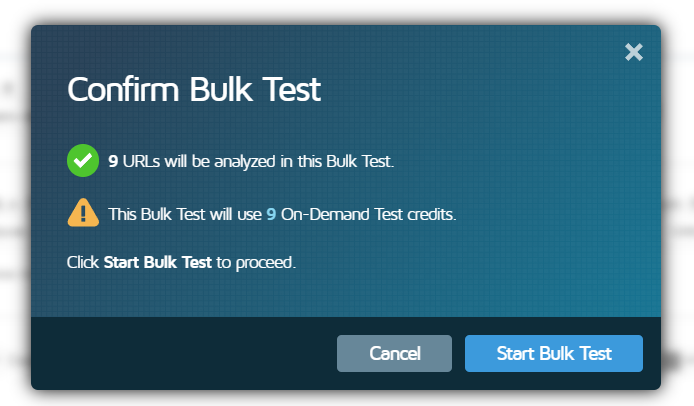
You will need to ensure you have sufficient On-Demand Credits for the Bulk Test.
- Each test will deduct 1 credit from your On-Demand credit supply.
- Failed tests will incur 0.5 credits
- Please ensure your pages/URLs are indeed functional and do not result in 404s or errors.
Once confirmed, click Start Bulk Test to commence your Bulk Testing job.
5) Success! Your Bulk Testing job has started!
A success modal should appear indicating that your Bulk Test has started. You can choose to view the Bulk Test Status or go back to the Dashboard.
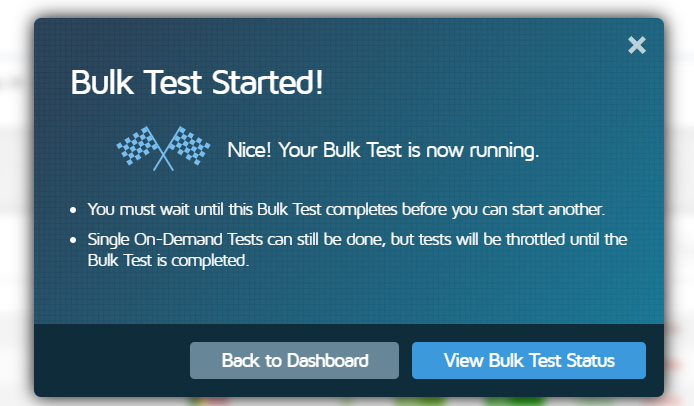
Please note that once a Bulk Test has started:
- You cannot start a new Bulk Test until the current one is complete.
- Single On-Demand Tests will be throttled, as the majority of your concurrency is dedicated to your Bulk Test.
Bulk Test Status Page
The Bulk Test Status page acts as a “lobby” where you can monitor the status of your ongoing Bulk Analysis, and also view your results as they get updated.

As the Bulk Test runs, successful tests will appear in the Completed Tests table (also on your Dashboard), while failed tests appear in the Failed Tests table.
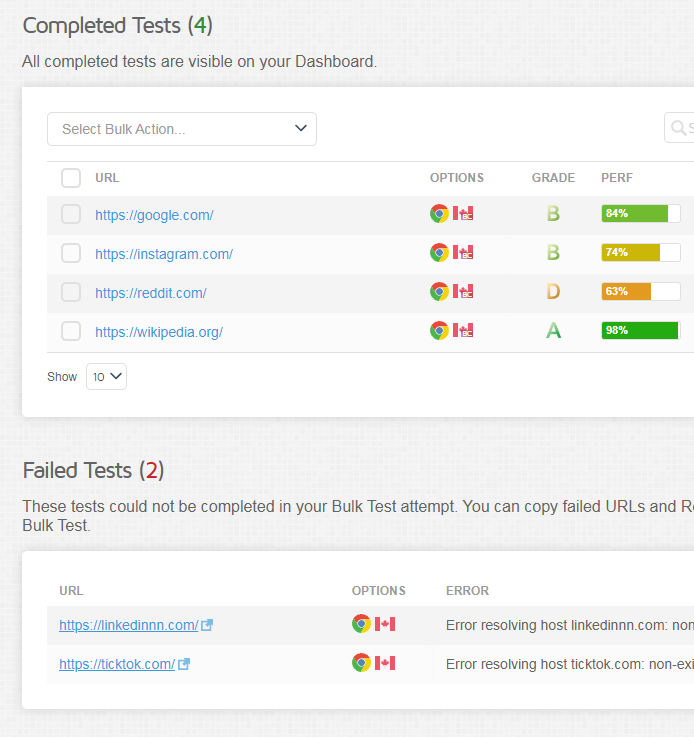
You’ll also see an option to Cancel Bulk Test in the top right-hand corner of the page. This option will cancel the Bulk Test for the pages that were still in the queue, provided those tests have not yet started.

Any tests cancelled during a Bulk Test will have their On-Demand Test Credits refunded.
Dashboard Bulk Test Status Widget
If you are viewing the Dashboard with a Bulk Test in progress, you’ll see a Bulk Test Status widget below the analysis section.
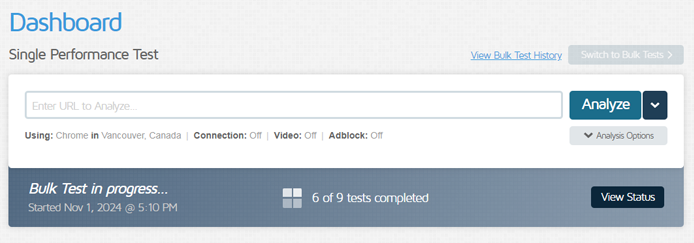
Click on View Status to open the Bulk Test Status page.
Bulk Test Status (Completed) Page
When your Bulk Test is done, the Bulk Test Status page will be marked as complete.
At the top of the page, you will see an overview of the completed Bulk Test with the following details:
- Date/Time of the Bulk Test
- Number of Successful and Failed Tests
- Analysis Options used for the Bulk Test
- Total number of On-Demand Test Credits consumed with a breakdown for successful/failed tests

Completed Tests Table
The Completed Tests table shows you the GTmetrix Reports for all the successful tests, and will now allow for Bulk Actions, filtering, and tagging for streamlined management of your specific Bulk Test.
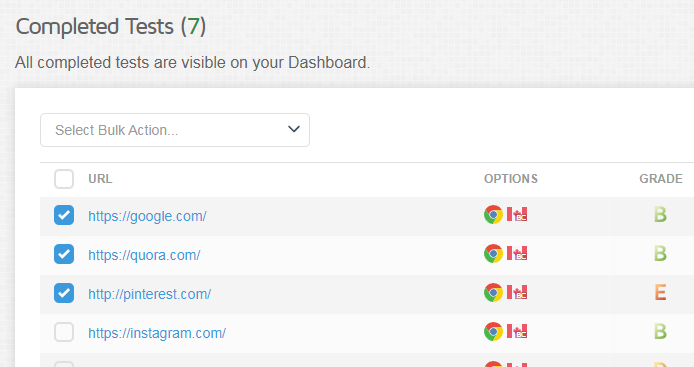
Using the Bulk Action menu, you can perform various actions just as you would on the Dashboard, such as:
- General Actions
- Compare Reports
- Bulk Export Reports
- Add Global Notes
- Delete Reports
- Bulk Monitoring Actions
- Add Monitoring/Alerts
- Remove Monitoring
- Remove Alerts
- Bulk Tag Actions
Failed Tests Table
Located below the Completed Tests table, the Failed Tests Table shows you failed tests in your Bulk Testing job, along with their failure reasons.
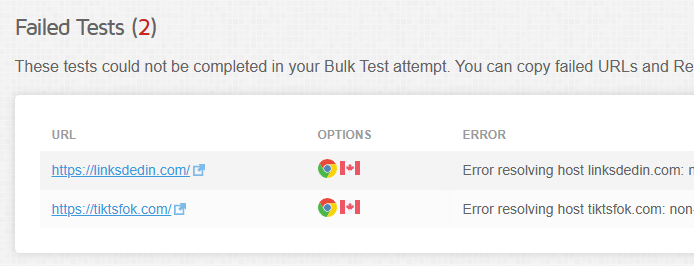
You can easily copy all the failed URLs by clicking on the Copy Failed URLs button on the right hand side of this table and start another Bulk Test.
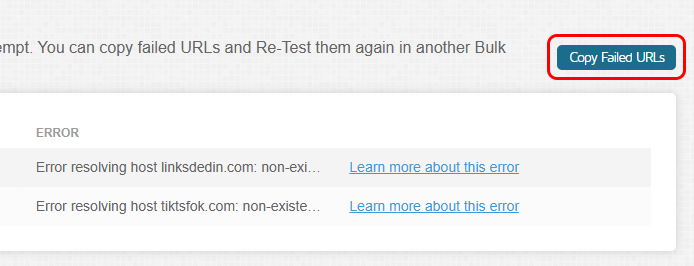
In the event of any failed tests, we recommend investigating the failure reasons for these pages to see if you can fix them first, before attempting another Bulk Test.
Bulk Test History
You can view the Bulk Status page of any previous Bulk Test performed on your account (over the last 6 months).
To do so, click on the View Bulk Test History button on the right side of the Analysis field.
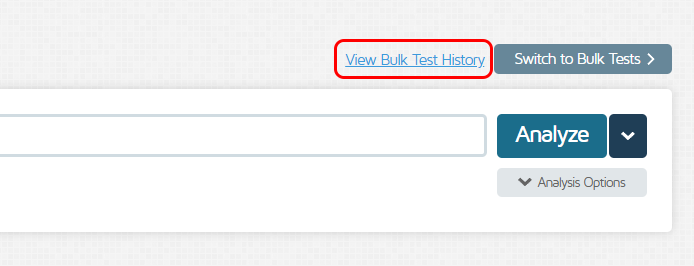
This will expand a sidebar menu showing previous Bulk Tests.
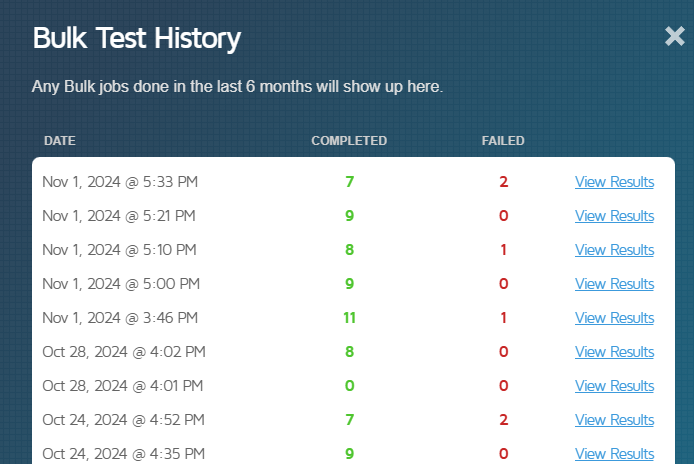
Click on View Results to open the Bulk Test Status (Completed) page.
Summary
Bulk testing is beneficial for testing multiple pages and generating large amount of performance data with just a few clicks.
In this guide, we’ve shown you how to perform a bulk test in GTmetrix. You can also refer to our other guides to learn how to perform other bulk actions:
Test with different countries, speeds and options
Get access to more Tests, Locations, Analysis Options and Connection Speeds!
Sign up for a Basic GTmetrix account and see how your site performs in more scenarios – It’s FREE!
Get Mobile Testing, Premium Locations, and more
Get more On-Demand Tests, Monitored Slots and Premium Test Locations along with Hourly testing with a GTmetrix PRO plan.
Upgrade to GTmetrix PRO and see how your site performs in all scenarios.


